
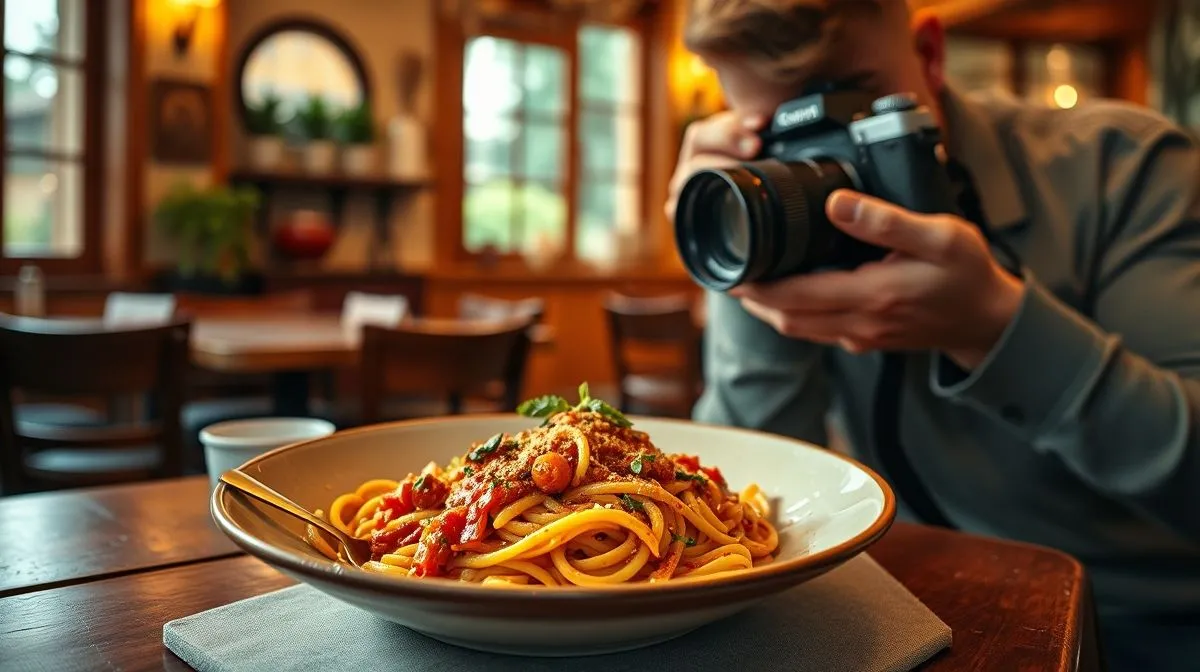
Food Photography for Travel Bloggers: Essential Tips
Have you ever scrolled through a travel blog and been instantly captivated by a mouthwatering photo of local cuisine? The power of a well-captured food photo can transport readers to a different world, igniting their wanderlust and making them crave the experience firsthand.
The challenge for many travel bloggers is how to consistently create those visually stunning images. It's not just about pointing and shooting; it's about understanding light, composition, and styling to make food look irresistible. This is especially important when you're on the road, facing unpredictable environments and limited resources.
In this guide, we'll unravel the secrets of food photography for travel bloggers. You'll learn practical techniques to elevate your food photos, regardless of your equipment or location, ensuring that your blog stands out and leaves a lasting impression on your audience.
Why Food Photography is Crucial for Travel Blogs
Capturing the Essence of a Culture
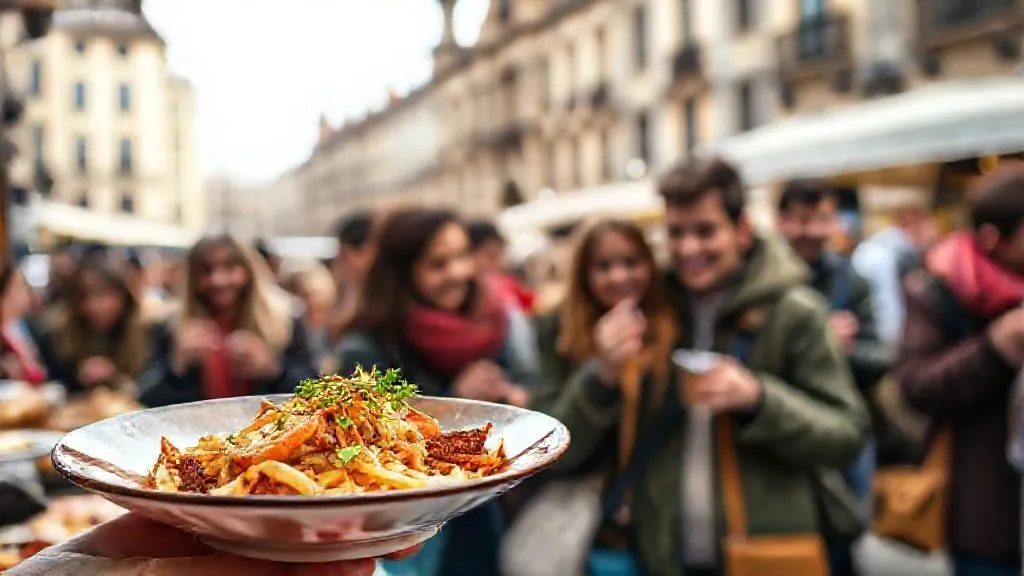
Food is an integral part of any culture. A single dish can tell a story about a region's history, traditions, and values. By showcasing local cuisine through compelling photography, you offer your readers a deeper, more authentic understanding of the places you visit.
Moreover, according to studies, visuals impact content engagement significantly. A blog post with high-quality images is more likely to be shared and remembered than one with just text. Good food photos can transform a simple travelogue into an immersive sensory experience.
Driving Engagement and Traffic
Visually appealing content is inherently more shareable on social media platforms like Instagram, Pinterest, and Facebook. Engaging food photos can attract new followers and drive traffic back to your blog. Consider that, according to HubSpot, articles with images get 94% more total views.
Pro Tip: Use relevant hashtags and geotags to increase the visibility of your food photos and attract a wider audience interested in travel and cuisine.
Building a Brand Identity
Consistent, high-quality food photography helps establish your brand as a reliable source of travel and culinary inspiration. Over time, your unique visual style will become recognizable, creating a strong connection with your audience and setting you apart from the competition.
Think of renowned travel bloggers – their photography is often as iconic as their written content. Emulating this approach could elevate your branding.
Essential Equipment for Food Photography on the Go
Camera Options: From Smartphones to DSLRs
While professional DSLRs offer the highest image quality, smartphones have become incredibly capable in recent years. The best camera is often the one you have with you, but here's a breakdown of the pros and cons:
- Smartphones: Convenient, portable, and offer excellent image quality in good lighting.
- Mirrorless Cameras: A great balance of portability and professional-grade features.
- DSLRs: Offer the highest image quality and versatility but can be bulky and expensive.
Important: Regardless of your camera choice, invest in a stable tripod to ensure sharp images, especially in low-light conditions.
Lighting Gear: Portable and Practical Solutions
Lighting is arguably the most critical element of food photography. Natural light is ideal, but not always available. Here are some portable lighting solutions:
- Reflectors: Use a reflector to bounce light and fill in shadows.
- LED Panels: Compact and provide consistent, adjustable lighting.
- Diffusers: Soften harsh light and create a more even illumination.
Tip: Experiment with different angles and intensities to find the most flattering light for your subject. Also, avoid using direct flash, as it can create harsh shadows and unflattering highlights.
Accessories: Tripods, Lenses, and More
Beyond cameras and lighting, consider these essential accessories:
- Tripod: Provides stability for sharp images.
- Macro Lens: Captures intricate details of food.
- Portable Backdrop: Creates a clean and consistent background.
- Styling Props: Adds visual interest and context to your photos.
A great lens can significantly impact your food photography. As explained on B&H Photo Video's website, the right lens can capture details that are otherwise missed.
Mastering Composition and Styling Techniques
Understanding Compositional Rules
Composition refers to the arrangement of elements within your frame. Here are some fundamental rules to guide you:
- Rule of Thirds: Divide your frame into nine equal parts and place key elements along the lines or at the intersections.
- Leading Lines: Use lines to guide the viewer's eye through the image.
- Symmetry and Patterns: Create visually appealing compositions using symmetrical arrangements or repeating patterns.
Remember: Rules are meant to be broken, but understanding them is essential before you can effectively break them.
Styling Your Food for Visual Appeal
Food styling involves arranging and presenting food in an attractive way. Consider these tips:
- Fresh Ingredients: Use only the freshest, most visually appealing ingredients.
- Garnish Strategically: Add garnishes to enhance color, texture, and flavor.
- Create Depth: Use layers and textures to add visual interest.
Example: A sprinkle of fresh herbs, a drizzle of sauce, or a dusting of powdered sugar can transform a simple dish into a work of art.
Using Natural Light to Your Advantage
Natural light is the most flattering light for food photography. Here's how to make the most of it:
- Shoot Near a Window: Position your food near a window to capture soft, diffused light.
- Avoid Direct Sunlight: Direct sunlight can create harsh shadows and wash out colors.
- Use a Reflector: Bounce light to fill in shadows and even out the illumination.
According to experts at Adobe, understanding light is essential to improving your photography skills.
Editing Your Food Photos for Maximum Impact
Basic Editing Adjustments
Editing is an essential step in the food photography process. Here are some basic adjustments to make:
- Exposure: Adjust the overall brightness of the image.
- Contrast: Increase the difference between light and dark areas.
- White Balance: Correct any color casts and ensure accurate colors.
- Saturation: Enhance the vibrancy of colors.
Using Editing Apps and Software
Numerous editing apps and software programs are available, each with its own strengths and weaknesses. Here are a few popular options:
- Adobe Lightroom: A professional-grade editing program with advanced features.
- Snapseed: A free and powerful mobile editing app.
- VSCO: A popular mobile app with a wide range of filters and editing tools.
Tip: Experiment with different apps and software to find the one that best suits your needs and workflow. Don't over-edit; aim for a natural and authentic look.
Common Mistakes to Avoid in Food Photography
Ignoring Lighting
Poor lighting is one of the most common mistakes in food photography. Avoid using direct flash or shooting in harsh sunlight. Instead, use natural light or artificial light to create soft, even illumination.
Cluttered Backgrounds
A cluttered background can distract from the food and make the image look messy. Use a clean, simple background to keep the focus on the subject.
Poor Composition
Poor composition can make an image look unbalanced and unappealing. Use compositional rules like the rule of thirds and leading lines to create visually appealing compositions. More information on composition can be found at Wikipedia.
Over-Editing
Over-editing can make an image look artificial and unnatural. Use editing tools sparingly and aim for a natural, authentic look.
Frequently Asked Questions (FAQ)
What is the best camera for food photography? The best camera depends on your budget and needs. Smartphones are great for beginners, while DSLRs and mirrorless cameras offer more advanced features and image quality.
How do I style food for photos? Use fresh ingredients, garnish strategically, and create depth with layers and textures.
What are the best lighting techniques for food photography? Use natural light whenever possible, avoid direct sunlight, and use reflectors or diffusers to soften harsh light.
How important is editing in food photography? Editing is essential for enhancing colors, correcting exposure, and creating a polished final image.
What are some common mistakes to avoid? Ignoring lighting, cluttered backgrounds, poor composition, and over-editing are common mistakes to avoid.
Recommended Reading
- Amalfi Coast's Best Michelin Restaurants: Your Exclusive Culinary Guide
- Best Age for Disney World with Toddlers: Maximize the Magic!
- Global Events & Festivals: Your Ultimate Travel Planning Checklist
Conclusion
Mastering food photography for your travel blog is an ongoing journey, but by implementing these tips and techniques, you can significantly elevate the quality of your visuals and captivate your audience. Remember to prioritize good lighting, thoughtful composition, and strategic styling. Embrace experimentation and continuous learning, and you'll be well on your way to creating mouthwatering food photos that enhance your storytelling and inspire wanderlust. Good luck, and happy shooting!
Your email address will not be published. Required fields are marked *