
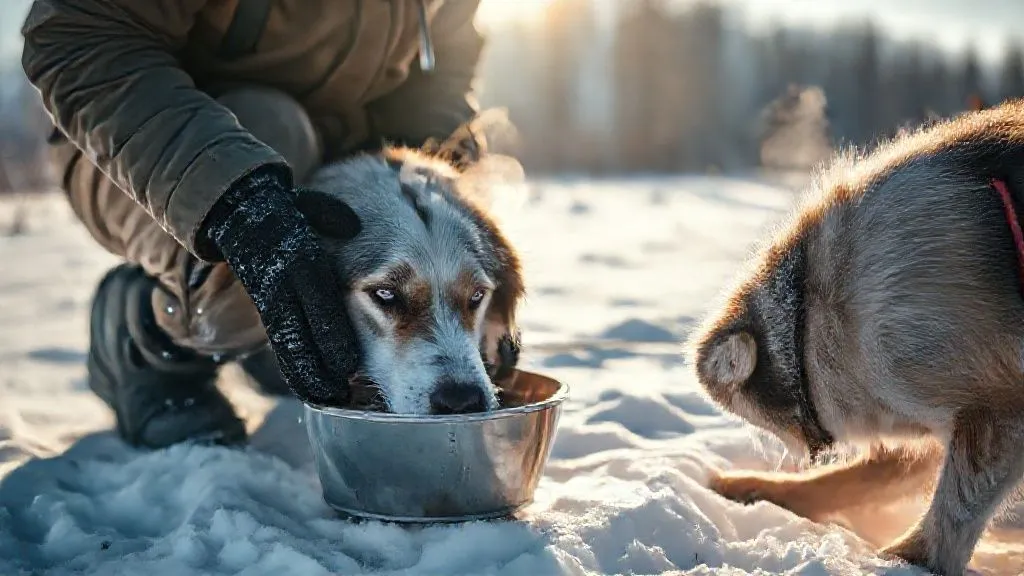
Preventing Sudden Severe Icing on Cross-Country Skis Mid-Race?
For nearly three decades immersed in the world of Nordic skiing, I’ve witnessed countless races decided not by fitness or technique, but by an insidious, unpredictable foe: sudden, severe ski icing. I remember one particularly brutal 50k where a top contender, leading comfortably, hit a shaded section of track, and within minutes, his skis transformed into ice magnets, costing him critical time and ultimately, the podium.
This isn't just an inconvenience; it's a racer’s nightmare. The abrupt loss of glide, the heavy, clumpy feeling underfoot, the desperate struggle to maintain momentum – it’s a soul-crushing experience that can derail months of dedicated training and preparation. The problem isn't always obvious until it’s too late, often striking in specific microclimates or during unforeseen weather shifts, leaving skiers feeling helpless.
But here’s the good news: helplessness is not your fate. In this definitive guide, I’ll share my accumulated wisdom, drawing from years of racing, coaching, and waxing experience, to equip you with a robust framework for understanding, preventing, and combatting sudden severe icing on cross-country skis mid-race. We’ll delve into actionable pre-race strategies, on-the-fly techniques, and emergency protocols, ensuring you maintain your glide and conquer the course, no matter what Mother Nature throws your way.
Understanding the Enemy: Why Skis Ice Up Mid-Race
The Science of Ice Formation on Ski Bases
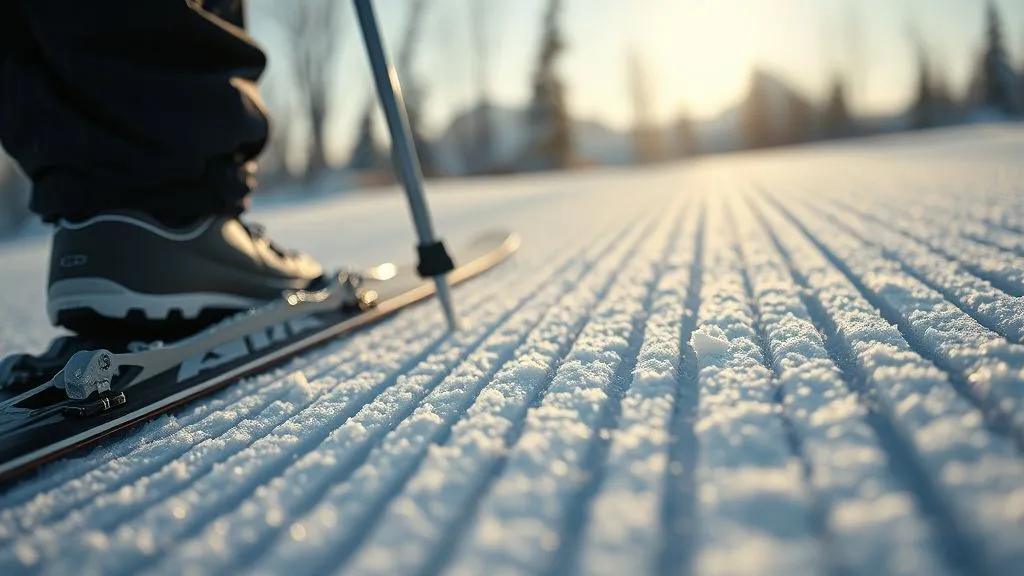
To truly prevent icing, we must first understand its mechanics. At its core, icing on cross-country skis is a complex interplay of temperature, humidity, snow crystal structure, and the ski base itself. It primarily occurs when free water in the snow (either from melting, high humidity, or rain) comes into contact with a ski base that is colder than 0°C (32°F).
This supercooled water then rapidly freezes onto the ski base, often exacerbated by the pressure and friction generated during skiing. The more porous the base, or the more micro-scratches it has, the more surface area there is for ice crystals to adhere, creating a snowball effect (or rather, an ice-ball effect).
Common Scenarios for Sudden Icing
Icing isn't random; it typically manifests under specific conditions. You’ll often encounter it during transitions from cold, dry snow to warmer, wetter snow, or vice-versa. Think about skiing through a sun-exposed section into a shaded, cold valley, or when warm air suddenly pushes into a cold snowpack, creating a thin film of water on the surface.
Another classic scenario is during light freezing rain or drizzle, which can coat the skis in a layer of water that quickly freezes. High humidity combined with temperatures hovering around freezing (0°C to -3°C) is also a notorious culprit. These are the moments when your meticulously applied wax can turn against you, attracting rather than repelling ice.

Pre-Race Fortification: Your First Line of Defense
Strategic Base Preparation and Waxing
The battle against icing begins long before race day. A well-prepared ski base is paramount. I've found that a properly structured and saturated base is far less prone to ice adhesion. This means regular hot waxing with glide wax, ensuring the base pores are filled, creating a hydrophobic surface.
For classic skis, the kick zone requires even more attention. A clean, smooth kick zone, free of old wax residue, allows new kick wax to adhere properly and prevents contaminants from becoming nucleation sites for ice. I always recommend a thorough cleaning with a base cleaner before applying new wax, especially when conditions are suspect.
- Clean the Base Thoroughly: Use a reputable base cleaner to remove all old wax, dirt, and impurities from both glide and kick zones. This provides a fresh canvas.
- Apply a Hard Base Wax: Start with a hard, durable base glide wax, ideally one with fluorocarbon content if permitted by race rules, as these are more water-repellent. Iron it in thoroughly and scrape it clean.
- Structure the Base Appropriately: A good stone grind or manual structure tool creates micro-grooves that help break the suction of water and shed moisture. Consult with your ski technician for the optimal structure for anticipated conditions.
- Layer Kick Wax Carefully (Classic): For classic skis, apply thin, even layers of kick wax, corking each layer smoothly. Multiple thin layers are more durable and less prone to icing than one thick layer.
- Consider Anti-Icing Products: Many wax companies offer specific anti-icing treatments or additives, often liquid or spray-on, that create a super-hydrophobic layer. These are particularly effective in the kick zone for classic skis or as a final layer on glide zones for skate skis in challenging conditions.
The Role of Structure and Anti-Icing Treatments
Beyond wax, the mechanical structure of your ski base plays a critical role. A coarser structure, for instance, is often preferred in wet, warm snow to help break water tension and prevent suction. Conversely, a finer structure is better for cold, dry snow. However, in variable conditions, a universal or medium structure might be your safest bet to prevent icing.
Modern anti-icing treatments, often containing specialized silicones or fluorinated compounds, can be game-changers. I’ve seen them salvage races in conditions where traditional waxes failed miserably. They work by further reducing the surface tension of the ski base, making it incredibly difficult for water to cling and freeze. Always test new anti-icing products in training before race day to understand their performance characteristics.
| Condition | Wax Type | Anti-Ice Additive | |
|---|---|---|---|
| Temperature Range | Base Wax | Notes | |
| -5°C to -1°C (23°F to 30°F), high humidity | Blue/Violet Hard Wax + Fluorinated Top Coat | Liquid Anti-Ice Spray (Kick/Glide) | High risk of icing. Prioritize hydrophobic properties. |
Mid-Race Maneuvers: On-the-Fly Icing Prevention
Adaptive Kick Wax Application and Management
Even with the best pre-race prep, conditions can shift. For classic skiers, managing the kick zone mid-race is crucial. If you feel drag developing, it’s often due to ice accumulation in the kick zone. The first step is to identify if it's kick wax icing or glide zone icing.
If it's kick wax, you might need to scrape off the offending layers. I carry a small, plastic scraper and a cork in my race belt for this very reason. Sometimes, a quick scrape of the kick zone and a re-application of a slightly warmer kick wax (if available) or a liquid anti-ice product can save your race. The key is to act quickly, before the ice becomes too severe.
- Assess the Drag: Is the drag localized to the kick zone (classic) or spread across the entire ski (skate/classic glide)? This helps diagnose the source of icing.
- Scrape and Clean (Classic): If kick zone icing is severe, pull over briefly. Use a plastic scraper to gently remove the ice and affected kick wax. Avoid digging into the base structure.
- Re-apply or Adjust (Classic): If conditions have warmed, apply a thin layer of a slightly warmer kick wax. If they're colder/icy, a liquid anti-ice spray over the kick zone can be effective. Cork it in lightly.
- Emergency Glide Wax (All Skis): For glide zone icing, a quick wipe with a liquid anti-ice product or a fluorinated glide spray can help. Some racers carry small, rub-on blocks of emergency glide wax.
- Maintain Technique: While addressing the issue, try to maintain a light, gliding technique to minimize further snow contact and pressure on the iced areas.
Glide Zone Tactics: Addressing Ice Without Stopping
For skate skiers, or the glide zones of classic skis, mid-race icing can be more challenging to address without stopping. One technique I've taught is the 'ski wash' – briefly skiing through a patch of slightly warmer, wetter snow (if available on the course) to try and slough off accumulating ice. This is a gamble and requires careful observation of the terrain.
More reliably, carrying a small bottle of a liquid anti-ice spray or a specialized 'race day' liquid glide wax can be a lifesaver. A quick squirt and a light rub with a hand or sleeve (away from the kick zone on classic skis) can restore glide. As U.S. Ski & Snowboard coaches often emphasize, quick, decisive action is better than prolonged suffering.
Expert Insight: "The difference between a good racer and a great racer isn't just speed; it's adaptability. Knowing how to diagnose and treat ski icing on the fly is a critical skill that can turn a potential DNF into a personal best."

The Climate Factor: Reading the Snow and Air
Interpreting Snow Crystal Types and Humidity
A true veteran cross-country skier develops an almost instinctual ability to 'read' the snow. This isn't mysticism; it's a deep understanding of snow crystallography and its interaction with temperature and humidity. Fresh, sharp, cold snow crystals are less prone to icing than rounded, wet, transforming crystals.
When you see large, wet flakes, or notice the snow feeling 'sticky' even at sub-zero temperatures, it’s a red flag. High humidity, especially above 80%, significantly increases the risk of icing, even if the air temperature is below freezing. This is because there's more free water vapor available to condense and freeze onto your cold ski bases.
Forecasting Icing Risks: A Pro's Perspective
I always consult detailed meteorological forecasts, not just for temperature, but for humidity, dew point, and precipitation type. Look for inversions (colder air at lower altitudes) or sudden temperature drops/rises during the race. These are prime conditions for icing.
Pay close attention to transitions on the course: open, sunny areas versus shaded, forested sections; high-altitude climbs versus valley descents. Each microclimate can present a different icing challenge. For detailed insights into snow science, I recommend exploring resources like the National Snow and Ice Data Center (NSIDC) which provides extensive information on snow and ice characteristics.
| Snow Type | Humidity | Recommended Action | ||
|---|---|---|---|---|
| Temperature | Icing Risk | Wax Adjustment | ||
| New, wet snow, large flakes | 0°C to -2°C (32°F to 28°F) | High (>85%) | VERY HIGH | Harder kick wax, anti-ice additives, consider colder glide wax |
| Old, transformed granular snow | -3°C to -7°C (27°F to 19°F) | Moderate (60-80%) | MEDIUM | Standard wax for temp, monitor conditions closely |
| Falling freezing rain/drizzle | -1°C to 1°C (30°F to 34°F) | 100% | EXTREME | Aggressive anti-ice on kick and glide, consider ski change if allowed |
Emergency Protocol: When Icing Strikes Hard
Quick-Fix Strategies for Severe Ice Build-Up
Sometimes, despite all precautions, severe icing can strike. When your skis feel like they're dragging anchors, you need an emergency plan. For classic skis, the most effective immediate action is to stop, scrape the kick zone thoroughly with a plastic scraper, and then rub a liquid anti-ice product or even a colder, harder kick wax over the affected area, corking it in firmly.
For glide zones, a quick application of a liquid fluorinated glide wax or a rub-on anti-ice block can provide temporary relief. The key is to remove as much of the existing ice as possible before applying new product. Don't be afraid to sacrifice a few seconds to fix the problem; continuing with iced skis will cost you far more time in the long run.
Case Study: The 'Silver Bullet' Race Day Save
Case Study: The 'Silver Bullet' Race Day Save
During a challenging regional championship, a promising junior racer, Sarah, found herself facing sudden, severe icing on her classic skis about 10km into a 15km race. The conditions had unexpectedly warmed, and new, wet snow was falling. Her skis, initially waxed perfectly for colder conditions, began to clump with ice in the kick zone, bringing her to a near standstill.
Instead of panicking, Sarah remembered her training. She quickly pulled over to the side of the track, pulled out her compact plastic scraper and a small tube of emergency liquid anti-ice spray from her race belt. She efficiently scraped off the iced-up kick wax, then liberally sprayed the anti-ice solution over her kick zone, quickly corking it in with the side of her hand. The entire process took less than 45 seconds.
When she pushed off again, the transformation was immediate. The drag was gone, and she regained her kick and glide. While she lost a few places during the stop, her quick thinking allowed her to maintain her pace for the remainder of the race, ultimately finishing strong and securing a top-5 position, a result that would have been impossible had she continued with iced skis. This demonstrates that a prepared, decisive response can indeed be a 'silver bullet' on race day.

Equipment Checks: Beyond Just Wax
Ski Base Condition and Stone Grinding
The condition of your ski base is a foundational element in preventing icing. A base that is dry, oxidized, or heavily scratched will absorb water more readily and provide more nucleation sites for ice. Regular stone grinding is essential to maintain optimal base structure and flatness. A fresh stone grind ensures a clean, uniform surface that sheds water effectively.
I typically recommend a fresh stone grind at least once a season, or more frequently if you race often or ski on abrasive snow. After grinding, it's crucial to saturate the base with several layers of glide wax to fill the newly opened pores and protect the structure. Neglecting your base condition is like building a house on sand – it will eventually crumble under pressure, or in this case, ice up.
The Right Tools for Race Day
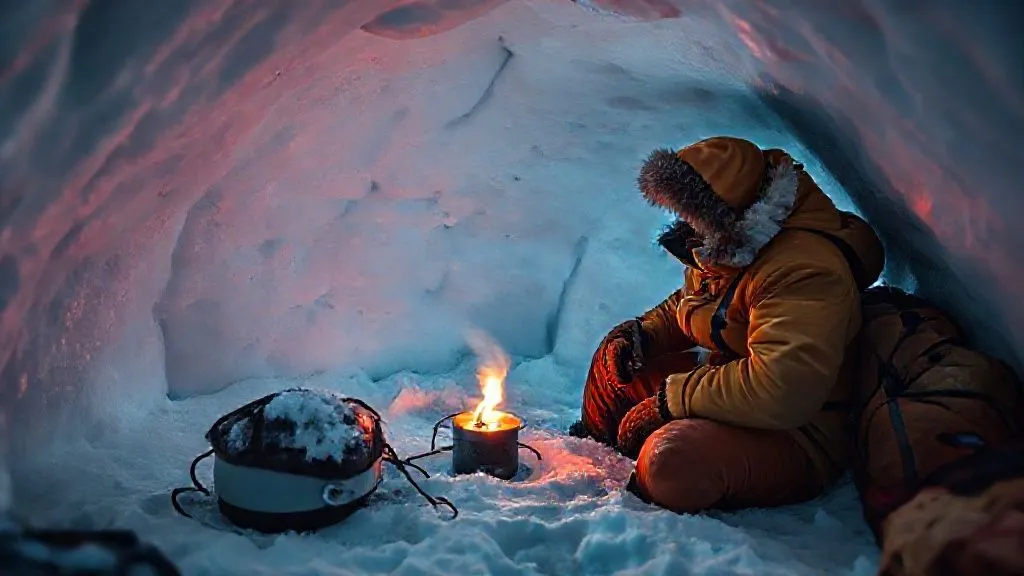
As Sarah's case study illustrated, having the right tools on hand can be a race-saver. Your race belt shouldn't just carry nutrition; it should also contain a small, lightweight emergency kit. This typically includes a plastic scraper, a small cork, and a compact tube or spray bottle of liquid anti-ice or emergency glide wax.
For classic skiers, a small piece of warmer kick wax might also be useful for quick adjustments. While these items add a negligible amount of weight, the peace of mind and the ability to self-rescue from an icing crisis are invaluable. Always pack these essentials, especially when conditions are unpredictable or known to be challenging.
Training and Technique: Minimizing Mechanical Icing
Smooth Transitions and Efficient Glide
Believe it or not, your skiing technique can directly influence icing. A choppy, inefficient stride that involves excessive friction or unnecessary contact with the snow can exacerbate icing. Smooth, fluid transitions between kick and glide phases (for classic) or between pushes (for skate) minimize the time your ski base is under high pressure on the snow, reducing the chance of water freezing to it.
Focus on a long, strong glide phase, allowing the ski to run freely. For classic, a crisp kick and immediate weight transfer to the gliding ski help lift the kick zone off the snow quickly, preventing it from dragging and collecting ice. For skate, ensuring a complete glide on each ski before initiating the next push is vital.
Avoiding Ski-to-Ski Contact
This might seem obvious, but I've seen many racers inadvertently cause icing by allowing their skis to rub against each other during the recovery phase of their stride. This friction can generate heat, melt snow, and then allow that water to freeze onto the contact points of the ski bases, creating a starting point for more extensive icing.
Maintain proper ski separation throughout your stride. Practice drills that emphasize keeping your skis parallel and apart. This small technical refinement, combined with diligent waxing and preparation, forms a comprehensive defense against sudden severe icing. As FIS (International Ski Federation) race regulations often hint at, every detail matters in high-performance skiing.
Expert Insight: "Technique isn't just about speed; it's about efficiency and problem prevention. A clean, balanced stride is your secret weapon against unexpected mid-race challenges, including ski icing."

Frequently Asked Questions (FAQ)
Can glide wax itself cause icing? While glide wax is designed to repel water, an improperly applied or incorrect glide wax for the conditions can contribute to icing. For example, a very soft, warm glide wax used in cold, dry snow can create too much friction and attract snow/ice. Additionally, an old, oxidized glide wax layer loses its hydrophobic properties and can become a magnet for moisture. Always ensure your glide wax is fresh, appropriate for the temperature, and thoroughly scraped and brushed.
What if I don't have emergency wax or a scraper mid-race? This is a tough situation, but not entirely hopeless. If you feel icing, try to change your technique to minimize ski-to-snow contact, focusing on a very light, gliding stride. For classic, try to lift the kick zone completely off the snow. If permitted, a quick wipe of the ski base with a gloved hand (if clean) might remove some surface ice, though this is a very temporary fix. Your best bet is always prevention and carrying a minimal emergency kit.
How often should I stone grind my skis to prevent icing? The frequency of stone grinding depends on several factors: how often you ski, the abrasiveness of the snow you ski on, and your performance expectations. For competitive racers, a fresh stone grind at the start of each season is highly recommended. If you notice your bases becoming dry, 'hairy,' or if glide performance significantly drops despite proper waxing, it might be time for another grind. Generally, every 500-1000km of skiing is a reasonable guideline.
Does ski stiffness affect icing? Yes, ski stiffness can indirectly affect icing, particularly for classic skis. A ski that is too soft for your weight will have a kick zone that drags too much on the snow, increasing friction and the likelihood of collecting ice. Conversely, a ski that is too stiff might make it difficult to get sufficient kick, causing you to over-kick and potentially abrade the wax, leading to icing. Proper ski selection for your weight and technique is crucial for optimal performance and icing prevention.
Are there specific snow conditions where icing is almost unavoidable? While we can mitigate risks, certain conditions present an extreme challenge. Falling freezing rain or sleet, especially when combined with air temperatures hovering just below freezing (e.g., -1°C to 1°C) and high humidity, creates a perfect storm for severe icing. In these rare instances, even the best preparation might only offer temporary relief. Sometimes, the only 'solution' is a ski change (if allowed in multi-lap races) or a strategic shift in technique to simply manage the inevitable.
Key Takeaways and Final Thoughts
Conquering sudden severe icing on cross-country skis mid-race is a multi-faceted challenge, but it's one that every experienced Nordic skier can master with the right knowledge and preparation. It's about combining scientific understanding with practical application, and always being prepared for the unexpected.
- Preparation is Paramount: A clean, structured, and properly waxed base is your strongest defense. Don't cut corners on pre-race ski prep.
- Read the Conditions: Become a student of snow and weather. Understanding temperature, humidity, and snow crystal types empowers you to anticipate and react.
- Equip for Emergencies: A small, lightweight emergency kit in your race belt – scraper, cork, anti-ice spray – is non-negotiable for peace of mind and mid-race problem-solving.
- Technique Matters: A smooth, efficient, and deliberate skiing technique minimizes unnecessary friction and ski-to-snow contact, reducing the risk of mechanical icing.
- Act Decisively: If icing strikes, diagnose quickly and implement your emergency protocol without hesitation. A brief stop to fix the problem is always better than struggling for miles.
Remember, every challenge on the snow is an opportunity to learn and grow as a skier. By integrating these expert strategies into your routine, you'll not only prevent mid-race icing but also gain a deeper appreciation for the intricate dance between skier, snow, and equipment. Go forth, glide smoothly, and conquer those race courses with confidence!
Recommended Reading
- Uncovering Authentic Private Celebrity Hotspots: 7 Expert Strategies
- Train Eco-Tourism Guides: 5 Steps for Impactful Education
- 5 ROI Metrics: Justifying Private Jet Costs for Executive Business Trips
- Unlock Your Inner Power: The Ultimate Guide to Solo Travel for Confidence
- Mastering Your First Art Festival: Essential Tips for Attendees

Your email address will not be published. Required fields are marked *