
How to Assess Terrain Traps Quickly During Sudden Whiteout?
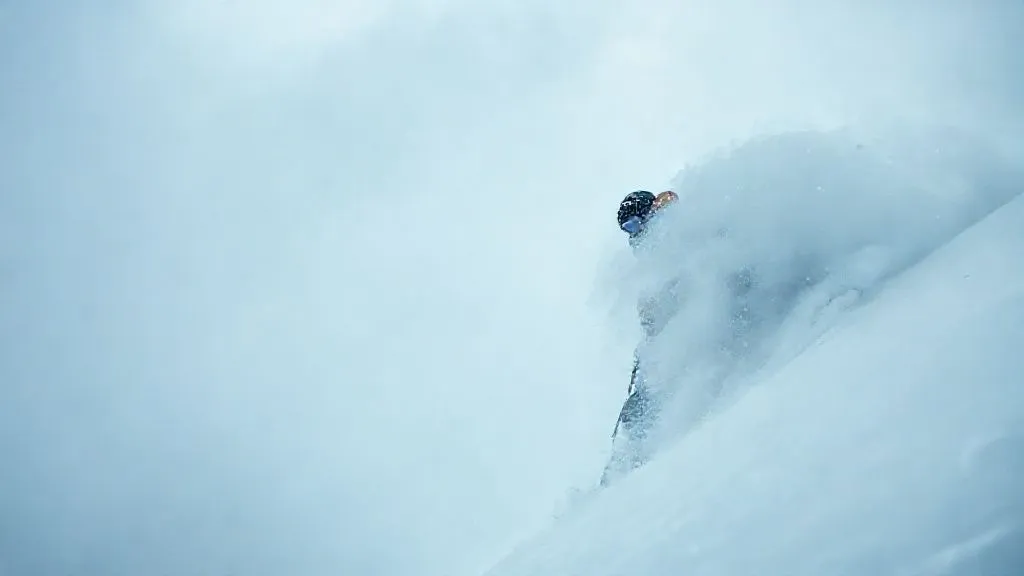
For over two decades navigating the world's most challenging backcountry, I've witnessed firsthand the sudden, disorienting terror of a whiteout. It's a phenomenon that strips away your vision, your sense of direction, and often, your confidence, leaving you vulnerable in an unforgiving landscape.
The problem isn't just the lack of visibility; it's the insidious way it masks terrain traps – those seemingly innocuous features like gullies, creek beds, or cliff bands that can become deadly in an avalanche or a simple fall. Many experienced skiers underestimate how quickly a familiar slope can turn into a death trap when the light goes flat and the world turns featureless.
In this definitive guide, I'll share the frameworks, practical techniques, and critical mindset I've honed over years of experience. You'll learn not just what terrain traps are, but a systematic, actionable approach to assess terrain traps quickly during sudden whiteout, enabling you to make life-saving decisions under immense pressure.
Understanding the Whiteout Phenomenon and Its Dangers
A whiteout occurs when light from the sun is scattered by snow particles in the atmosphere, creating a uniform, featureless field of white. This condition effectively eliminates horizons, shadows, and any visual cues that help us perceive depth and distance. It's like being inside a giant ping-pong ball, where up feels like down and flat feels like steep.
The danger isn't merely disorientation; it's the loss of critical spatial awareness. Without visual references, judging slope angle, identifying cornices, or spotting the entrance to a gully becomes almost impossible. This visual deprivation can lead to vertigo, nausea, and a profound sense of anxiety, impairing judgment when it's needed most.
The Psychological Impact of Zero Visibility
Beyond the physical challenges, whiteouts exert a significant psychological toll. Panic can set in quickly, leading to rash decisions or paralysis. I've seen even the most seasoned individuals struggle with the mental fortitude required to remain calm and systematic when their primary sense is compromised.
“In a whiteout, your greatest adversary isn't the mountain; it's your own mind. Mastering your internal state is as crucial as mastering your tools.”
Pre-Trip Planning: Your First Line of Defense
The ability to assess terrain traps quickly during sudden whiteout begins long before you even step into your bindings. Meticulous pre-trip planning is your foundational layer of safety, equipping you with the mental map and critical data needed to navigate the unknown.
I always emphasize that a good plan isn't just about the route you intend to take, but about understanding the terrain's nuances and identifying potential escape routes or safe zones if conditions deteriorate. This involves thorough study of topographic maps, satellite imagery, and recent avalanche forecasts.
Utilizing Topographic Maps and Digital Resources
Before any trip, I spend hours poring over maps. I'm looking for contour lines that indicate convexities and concavities, potential runouts, and areas where terrain funnels. Digital tools like Gaia GPS or CalTopo allow you to pre-load routes, mark waypoints, and visualize terrain in 3D, which is invaluable for identifying hidden traps before you're on the ground.
Pay close attention to changes in slope angle, especially where a gentle slope transitions to steeper terrain or where the terrain funnels into a gully. These are prime locations for terrain traps. Understanding the historical avalanche paths and local weather patterns is also critical. Always consult the latest avalanche forecast from Avalanche.org for your specific region.
| Pre-Trip Task | Objective | Tool |
|---|---|---|
| Study Topo Maps & Satellite Imagery | Identify convexities, concavities, runouts, funnels | Gaia GPS, CalTopo |
| Check Avalanche Forecast | Understand current snowpack stability & hazard ratings | Avalanche.org |
| Review Weather Forecast | Anticipate visibility changes, wind, precipitation | NWS, Mountain-Forecast.com |
| Plan Multiple Escape Routes | Identify safe zones and alternative descents | Topo Map, Digital GPS |
Immediate Actions When a Whiteout Hits: The 'Stop & Think' Protocol
Despite the best planning, whiteouts can strike with alarming speed, especially in dynamic mountain environments. When that wall of white descends, your immediate reaction is paramount. Panicking or blindly pushing forward is the fastest way into serious trouble.
My 'Stop & Think' protocol is a three-second rule designed to regain control and initiate a systematic assessment. It’s about creating a momentary pause to reset your senses and engage your cognitive functions before making any further moves.
The 3-Second Rule: Stabilize and Orient
- STOP: Immediately halt all movement. If you're skiing, plant your poles firmly. If hiking, brace yourself. This prevents you from inadvertently moving into a dangerous spot while disoriented.
- COMMUNICATE: If with a group, call out to your partners. Confirm everyone is accounted for and safe. Verbal communication helps orient you to their position and prevents separation.
- ASSESS: Take a deep breath. Close your eyes for a moment, then open them. Try to identify any remaining visual cues – a faint shadow, a change in snow texture, or the outline of a tree if you’re near the treeline. This initial assessment helps establish a baseline for your current sensory input.
Rapid Terrain Trap Identification: What to Look For
Once you've stabilized, the real work of assessing terrain traps quickly during sudden whiteout begins. This isn't about guesswork; it's about systematically looking for subtle cues and understanding the inherent dangers of specific terrain features.
In a whiteout, every feature that can collect snow, funnel an avalanche, or create a barrier becomes a potential trap. My focus shifts from grand vistas to microscopic details, using every available sense and tool.
Identifying Convexities and Concavities
Even in a featureless whiteout, subtle changes in snow texture or the feel underfoot can indicate terrain changes. Convexities (bulges, rolls) often hide cornices or mask steep drop-offs. Concavities (depressions, gullies, bowls) are classic terrain traps, collecting avalanche debris and making escape difficult. Use your ski poles to probe ahead, feeling for changes in snow depth or underlying rock.
If you suspect you're on a convexity, proceed with extreme caution, probing constantly. If you feel a concavity forming, consider traversing slowly to higher ground if safe, or retreating. Remember, staying on flatter, more open terrain is always preferable in a whiteout.

For further insights into terrain recognition and avalanche safety, I highly recommend consulting resources from the American Avalanche Association (A3). Their educational materials are invaluable for understanding these complex environments.
Leveraging Your Tools: Altimeter, GPS, and Probe Skills
Your gear isn't just for comfort; it's an extension of your senses, providing objective data when your eyes fail you. In a whiteout, your altimeter, GPS, and avalanche probe become indispensable for assessing terrain traps quickly.
These tools, when used correctly, can paint a surprisingly detailed picture of the terrain, even when you can't see your hand in front of your face. It's about translating digital data into real-world spatial awareness.
The Altimeter: Your Vertical Lifeline
Your altimeter is your most immediate source of vertical information. Before the whiteout, note your current elevation and the elevation of key features on your map (summits, passes, safe zones). In a whiteout, constant monitoring of your altimeter can tell you if you're gaining or losing elevation, and more importantly, how quickly. A rapid drop in elevation could indicate you're entering a gully or descending a steep slope unexpectedly.
Use it in conjunction with your map to confirm your general position. If you planned to traverse at a certain elevation, your altimeter will tell you if you're maintaining it or drifting up or down into potentially dangerous terrain.
GPS Navigation in Featureless Terrain
A GPS device (or smartphone with a robust GPS app) becomes your eyes on the map. Pre-loaded waypoints for safe zones, ridgelines, and known terrain traps are critical. In a whiteout, your GPS allows you to:
- Confirm your exact position: Essential for knowing if you've drifted off your planned route.
- Navigate to specific waypoints: You can navigate point-to-point, even if you can't see the next waypoint.
- Track your progress: Reviewing your track can show you if you're moving in circles or drifting.
Always carry extra batteries and keep your device warm. A dead GPS in a whiteout is a critical failure.
Strategic Probing for Hidden Dangers
Your avalanche probe isn't just for avalanche rescue; it's an incredibly effective tool for whiteout navigation and assessing terrain traps quickly. When visibility is zero, you must feel your way forward.
I teach a technique called 'tactical probing.' Extend your probe ahead of you, sweeping it side to side. Feel for:
- Changes in snow depth: A sudden decrease could indicate a rock outcropping or a shallow snowpack over ice. A sudden increase might mean a buried gully.
- Hard objects: Rocks, ice, or even buried trees can be trip hazards or indicate a steep drop-off.
- Crevasse edges: In glaciated terrain, probing is essential. A hollow sound or lack of resistance could mean a crevasse.
This slow, deliberate probing should be done with every step forward in truly featureless terrain. It's tedious, but it saves lives.

The Art of Micro-Navigation: Step-by-Step Movement
When you can't see, you must slow down. Micro-navigation is the process of moving with extreme caution, taking small, deliberate steps, and constantly reassessing your immediate surroundings. It’s about building a mental map of the terrain one small piece at a time.
This method drastically reduces the risk of stumbling into a terrain trap. It requires patience, discipline, and constant communication with your partners.
The Buddy System and Spacing
If you're in a group, the buddy system is non-negotiable. Maintain visual (or at least verbal) contact at all times. In a whiteout, I recommend keeping a very tight formation, often within arm's reach. One person leads, probing and navigating, while others provide feedback on perceived changes in slope or snow texture.
If you must traverse, do so one person at a time, with the lead person calling out conditions. This ensures that if one person falls into a trap, the others are not immediately affected and can initiate a rescue.
Case Study: Navigating the 'Ghost Gully'
I recall a harrowing incident in the Purcell Mountains a few seasons ago. A sudden, dense whiteout enveloped our group as we were traversing a seemingly benign shoulder. Our GPS showed us near a known gully, but we couldn't see a thing. Instead of pushing on, we halted.
Using the altimeter, we confirmed we were maintaining our planned elevation. Then, with an avalanche probe, I began to 'feel' our way forward, one step at a time. After about 10 meters of probing, I felt the snow suddenly drop away under the probe tip – a clear indication of a steep gully lip. We marked the spot, adjusted our bearing slightly uphill, and continued probing until we felt stable, flatter ground. This slow, deliberate micro-navigation, combined with constant tool use, allowed us to safely bypass what we later confirmed was a significant terrain trap, the 'Ghost Gully,' which had claimed a ski tourer years prior.
“Patience in a whiteout isn't a virtue; it's a survival imperative. Rushing will only lead you astray or worse, into a trap you cannot see.”
Understanding weather patterns and how they contribute to whiteout conditions is crucial for prevention. The National Weather Service provides valuable insights into various winter weather phenomena, including whiteouts.
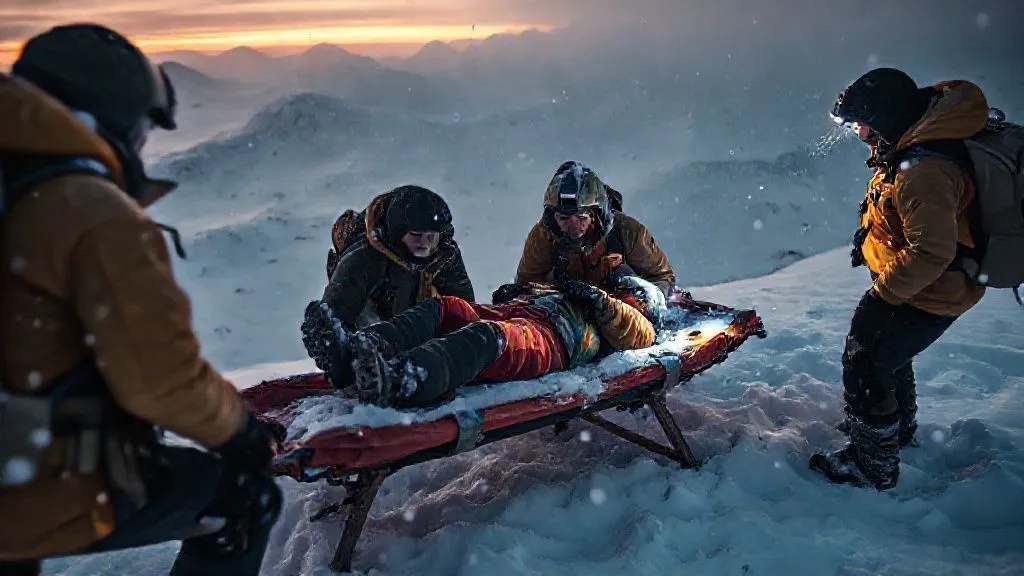
Decision-Making Under Duress: When to Retreat
Even with the best tools and techniques, there comes a point where the safest decision is to stop and wait, or to retreat entirely. Recognizing this 'no-go' threshold is a hallmark of an experienced backcountry traveler.
It's a tough call to make when you've invested time and energy into an objective, but the mountain doesn't care about your summit fever. Your primary objective in a whiteout shifts from reaching a destination to ensuring survival.
The 'No-Go' Threshold
I evaluate several factors to determine if we've reached the point of no return for safe onward travel:
- Loss of Positional Certainty: If you can no longer confidently pinpoint your location on the map, even with GPS, you're at high risk.
- Inability to Identify Safe Passage: If probing and micro-navigation reveal continuous, unavoidable terrain traps, it's time to reconsider.
- Group Morale & Fatigue: A tired, anxious, or panicking group is prone to errors. Assess the psychological state of your team.
- Deteriorating Weather: If the whiteout is worsening, accompanied by high winds or heavy snowfall, conditions are unlikely to improve quickly.
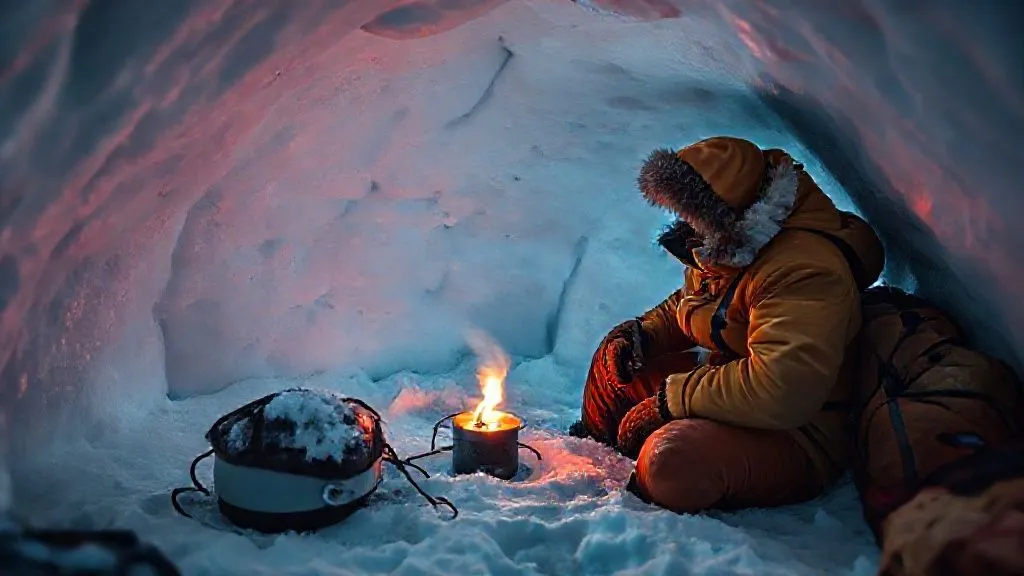
When these factors align, the decision is clear: find the nearest safe, flat spot, dig a snow pit or build a snow shelter, and wait it out. If possible, descend to lower elevations where visibility might be better, or where the terrain is less complex.
| Factor | Assessment | Action |
|---|---|---|
| Positional Certainty | Lost or unsure of exact location | Immediate halt, re-evaluate, consider retreat |
| Terrain Complexity | Continuous, unavoidable terrain traps detected | Seek safe, flat ground; build shelter or retreat |
| Group State | High anxiety, fatigue, or panic among members | Prioritize group safety, communicate, consider waiting |
| Weather Trend | Whiteout intensifying, combined with wind/snow | Prepare for extended wait, descend if safe, or retreat |

Post-Incident Review: Learning from the Near Miss
Every encounter with a whiteout, whether a minor inconvenience or a life-threatening ordeal, is a learning opportunity. As an experienced mentor, I stress the importance of debriefing after any significant backcountry event, especially those involving challenging navigation or near misses.
This reflective practice is how we truly grow our expertise and refine our protocols. It's not about assigning blame, but about extracting valuable lessons that can prevent future incidents.
Refining Your Whiteout Protocol
After a whiteout experience, gather your group and discuss:
- What were the initial signs of the whiteout? Could it have been anticipated better?
- How effective was your immediate 'Stop & Think' response?
- Which terrain trap assessment techniques worked best, and which were challenging?
- How well did you utilize your altimeter, GPS, and probe? Were there any gear deficiencies?
- What was the group's communication like?
- When was the 'no-go' threshold reached, and was the decision to retreat (or wait) made at the right time?
- What specific actions or observations could be improved for next time?
Document these insights. Over time, this personal and group experience will build an invaluable repository of knowledge, enhancing your ability to assess terrain traps quickly during sudden whiteout conditions with greater confidence and competence.
Frequently Asked Questions (FAQ)
Q: How does a whiteout affect my perception of slope angle? A: Whiteouts severely distort slope perception. Without visual cues like horizons or shadows, your brain struggles to interpret the angle. Gentle slopes can feel steep, and steep slopes can feel flat. This is why relying on an altimeter, map, and probing for changes in terrain is crucial, rather than trusting your visual sense. It's a prime reason why people often ski or walk off cliffs or into steep gullies they can't see.
Q: What's the most common mistake people make in whiteouts? A: The most common and dangerous mistake is pushing forward blindly or attempting to navigate too quickly. This often stems from panic, a desire to 'get out of it,' or an overreliance on a single tool like a GPS without understanding its limitations. Rushing leads to missed cues, increased risk of falling, and a higher chance of stumbling into an unseen terrain trap. Patience and deliberate, micro-navigation are key.
Q: Can I rely solely on GPS in a whiteout? A: No, absolutely not. While GPS is an invaluable tool, it provides a 2D position and elevation, not a direct view of the immediate terrain. It won't tell you about the 5-foot drop-off directly in front of your skis or the crevasse just beyond your probe tip. GPS should always be used in conjunction with a topographic map, altimeter, and tactile probing. It's a guide, not a substitute for active terrain assessment.
Q: How do I practice for whiteout conditions safely? A: You can simulate whiteout conditions in a controlled, safe environment. On a gentle, familiar slope with no hazards, try skiing or walking with your eyes closed (with a trusted partner leading and guiding you) or wearing goggles obscured with tape. Focus on using your other senses: the feel of the snow, subtle changes in balance, auditory cues from your partner. Practice using your altimeter and GPS without looking up. This builds muscle memory and confidence.
Q: What gear is absolutely essential for whiteout navigation? A: Beyond your standard avalanche safety gear (beacon, shovel, probe), absolutely essential items include a reliable GPS device (with extra batteries or a power bank), a dedicated altimeter (separate from your watch if possible, as wrist-worn ones can be less accurate in rapid changes), a detailed topographic map of the area, and a compass. Headlamps are also vital, even during the day, as they can sometimes help illuminate immediate surroundings in a dense whiteout.
Key Takeaways and Final Thoughts
Navigating a sudden whiteout and assessing terrain traps quickly is one of the most demanding challenges in backcountry skiing. It tests your skills, your gear, and your mental fortitude. But it is a skill that can be learned, honed, and mastered through diligent preparation and practice.
- Preparation is paramount: Thorough pre-trip planning with maps and digital tools is your first line of defense.
- Immediate action is critical: The 'Stop & Think' protocol helps you regain control and orient yourself.
- Know your traps: Understand what convexities, concavities, and other features mean in zero visibility.
- Leverage your tools: Your altimeter, GPS, and probe are extensions of your senses – use them systematically.
- Embrace micro-navigation: Slow, deliberate, step-by-step movement with constant communication is key.
- Know when to retreat: Recognizing the 'no-go' threshold is a sign of true expertise and prioritizes safety above all else.
- Learn from every experience: Debriefing after a whiteout builds invaluable knowledge for future encounters.
The mountains are unforgiving, but they also offer profound lessons. By internalizing these strategies, you're not just learning to survive a whiteout; you're becoming a more competent, confident, and responsible backcountry traveler. Stay safe out there, and remember that sometimes the bravest decision is the one that leads you back to safety, even if it means turning around.

Recommended Reading
- Unplug & Recharge: Your 7-Step Guide to Beach Bliss for Professionals
- Escaping Executive Burnout: 7 Strategic Steps to Choose Your Perfect Train Tour
- 7 Intentional Travel Paths for Burned-Out Professionals to Find Inner Peace
- 7 Steps to Quiet Your Professional Mind for Mindful Solo Travel
- 7 Pillars: How to Avoid Perpetuating Colonial Mindsets in Short-Term Volunteer Travel

Your email address will not be published. Required fields are marked *